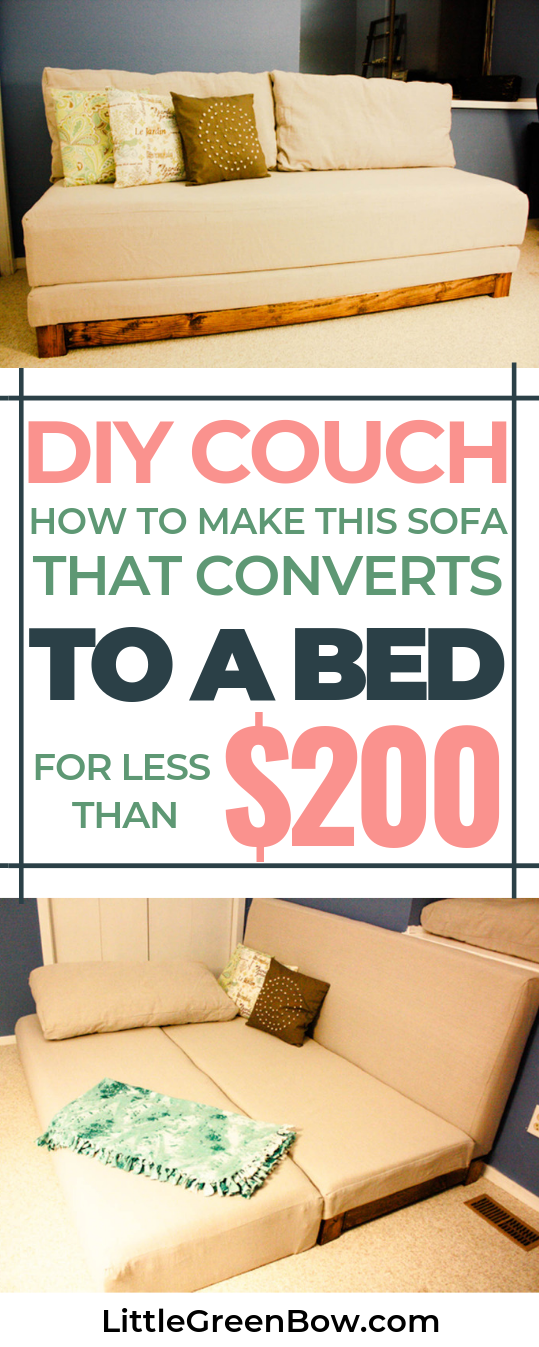
Build Your Own Sofa Bed: DIY Couch Plans
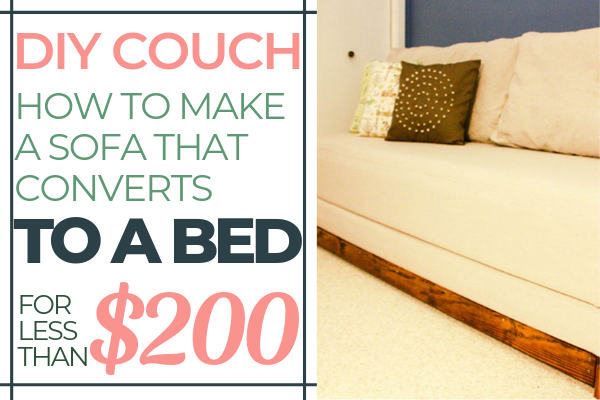
How to make a DIY Couch that Folds Out to a Bed
Last week when I posted about of our DIY couch that turns into a sofa bed many of you requested detailed plans so these are for you.Below is an overview of how we created our couch from scratch. If you would like detailed plans, I have created a Free PDF download here. The plans include your full supplies list, cut list, pictures, and detailed instructions.  All of the wood pieces were attached with wood glue in addition to screws. And all of the screws were countersunk for a level surface and nicer outside look. I did not use a Kreg Jig for this project so all of the screws are put in through an outside board, meaning that you can see the screw head. If you do not want to see the screws, I recommend getting a Kreg Jig so you can make hidden pocket holes.
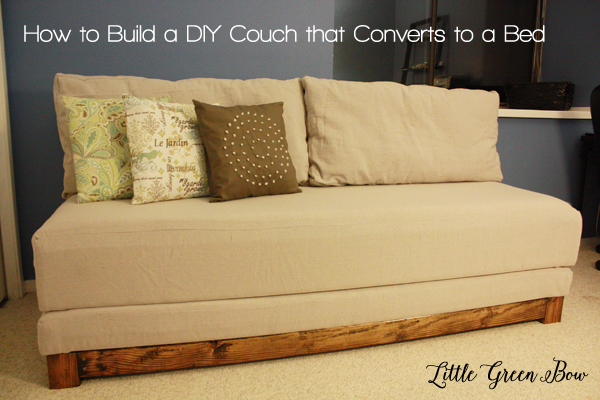 This DIY couch when constructed measures 33" tall, 72" wide, and 32" deep.
Additional Supplies You May Need
A full list of supplies we used is listed in this post. In addition to the wood, you will need:
- 2 paint drop cloths (9′x12′) These are great. Be sure to use decent ones as this is the upholstery fabric of your couch.
- Wood Stain (This eco-friendly stain comes in any color you'd like)
- Staple Gun (This is my favorite one)
- Miter Saw (If you don't have one yet, this is a good one and has been our most used tool)
- Circular Saw (another much needed addition to your tool supply)
- Thick Mattress (we used a foam mattress found on Craigslist)
- 1-2 foam mattress toppers (purchased at garage sales)
How to Assemble a Couch from Scratch
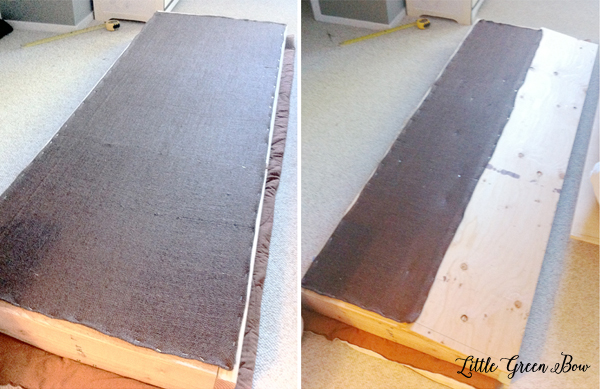
It's best to start with the back piece of the couch. This is the support for leaning against and will be attached to the base.The boards taper about half way up as this is where you lean back when sitting on the couch.If you have a Kreg Jig, you will not have to off set the boards, however, if you are like me these will have to be staggered so you can actually screw them in. Like this: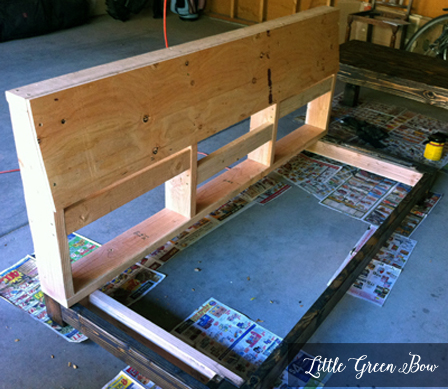 Once the frame was together, we added the plywood back piece. This completes the wood construction for the back portion of the couch. Next, I covered the openings of the couch with burlap. Have you ever noticed how couches have the fabric over the frames. This fills the same purpose and gives the batting an under layer for your comfort.
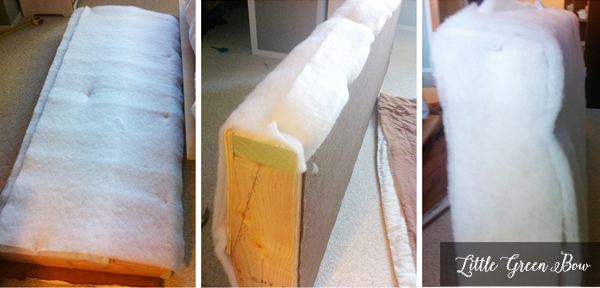
  Once the burlap was secured, I added the batting to the back frame of the couch.
Creating the Wood Base Frame
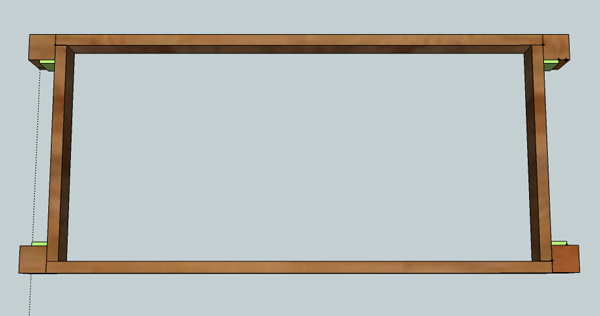
After the back of the couch was ready to be covered, I moved onto the base. We started by creating the outsides.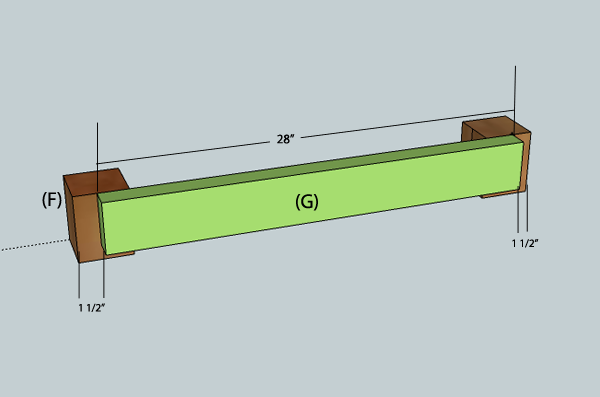 Then moved onto the front and back pieces.When this was done we checked for square.If your measurements are off here, make some adjustments and check again. Once square, add the outer edge pieces and stain the base.
Constructing the Bottom Couch Seat
With the back and base out of the way, let's move onto the seat.We used plywood attached to supports. These supports were then attached to the base.However, before you attach this piece to the frame, you need to put the cushions on. It's best to use spray adhesive to secure the foam in place, but you will also need to complete the slip cover too as it will be secured between the seat and the base.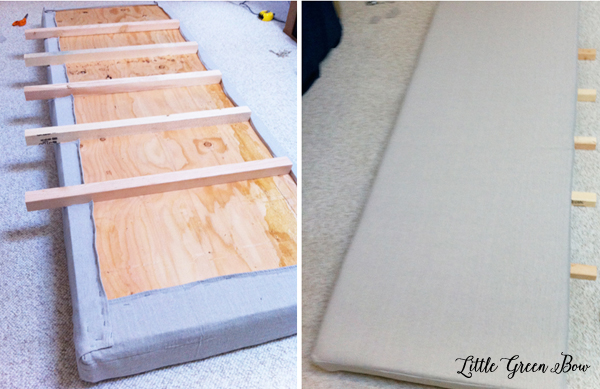
Sewing the Couch Slip Cover
The slip cover for this DIY couch was made in three pieces.The first piece was for the back, the second piece was for the bottom seat and the final piece was for the top (removable) seat.All three were made in a similar way. I laid the drop cloth against the couch (right side in) and pinned the pieces together to make a pattern. The pieces were carefully removed from the couch and sewn together where they were pinned. I sewed a straight stitch here and a zig-zag stitch along the seams to reinforce the fabric as the paint drop cloth was raveling. If you are experienced at sewing (I am not) you would probably put in a hem. I also sewed a zigzag stitch around where the supports extended past the plywood as this would be cut out so the fabric could go over the supports. When the sewing is finished, turn the slipcover right-side-out, pull it on over the couch piece and pull taught. Use your staple gun to secure the fabric on the underside.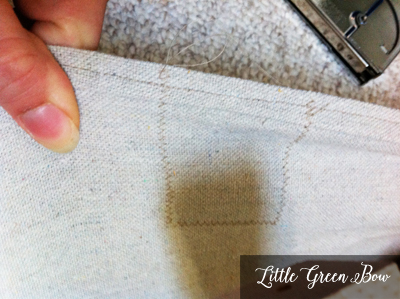
Adding the Top Seat
Then complete the top seat very much like the bottom seat (but this time you don't have to mess with those pesky supports!). Secure the slipcover with your staple gun and move on to the pillows.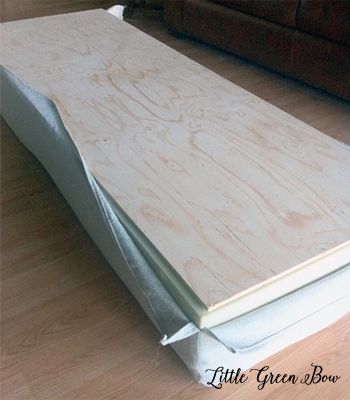
Making the Pillows
For the pillows, my best advice would be to sew the 4 side edges together first and then attach the front and back panels. This will ensure even sides, more square pillows, and neater corners. Leave one small gap to fill the pillows with stuffing and then sew up the gap by hand.Ta da! Your couch is complete and your guests will be very happy and comfortable the next time they are over for a visit.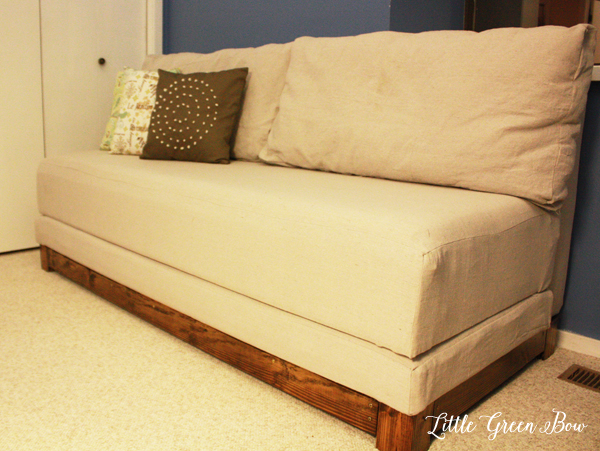 The top seat can be removed to make a queen sized bed when you have company over. When folded out, the bed measures 54" wide x 72" long.Some of you have also asked how much this cost. All-in (tools not included) it was just under $200. And really that's only because we were able to buy the foam off Craigslist and at garage sales. Have you seen how much that stuff costs at the fabric store?!? It's highway robbery! Anyway, we spent about $50 on the foam and hospital mattress. The rest was spent on wood, screws, and staining supplies.If you haven't done so yet, you can download your free copy of the detailed plans so you too can make your very own DIY couch from scratch.
 Let me know if you try this project yourself. I'd love to see how it turned out and feature you on my blog. And be sure to pin it so you can come back and reference it later.